Step 1
Select and import the vocal phrase or performance you would like to manipulate and make sure it’s on its own dedicated track. As far as choosing the right sort of vocal to process, it really helps if you can get the original to a point where it’s in time with the rest of your production. You can do this by using time-stretching or propellerheads recycle (if it’s a rhythmical phrase). Of course, it also helps if it’s in tune, but again, if needed you can manipulate the audio until it fits.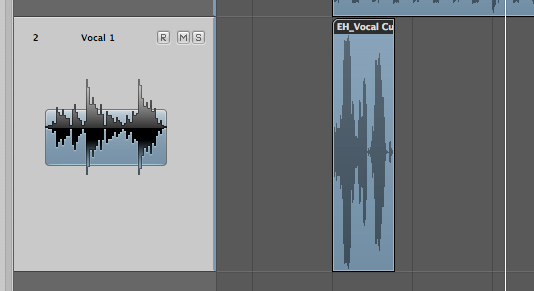
Step 2
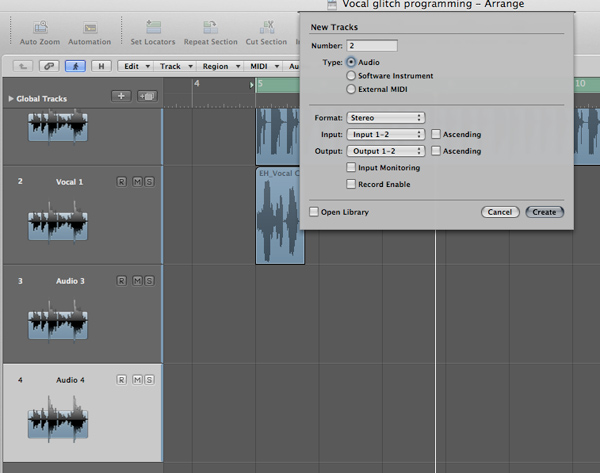
At this point, create a few new audio tracks. These tracks will accommodate the new edits of your vocal sample so it’s a really good idea to make them the same format as the original track i.e. stereo or mono.The amount of tracks you make here isn’t critical, just try to estimate how many you will use. If in doubt create a good number, they can always be deleted at a later stage.
Step 3
Now cut the vocal up into its component parts. This is easily achieved by visually scanning the part and cutting at every hard transient or dynamic event. Audition each part to make sure the sounds are clearly divided.This is a critical part of constructing your glitch sequence, so take your time here, it will pay off later.

Step 4
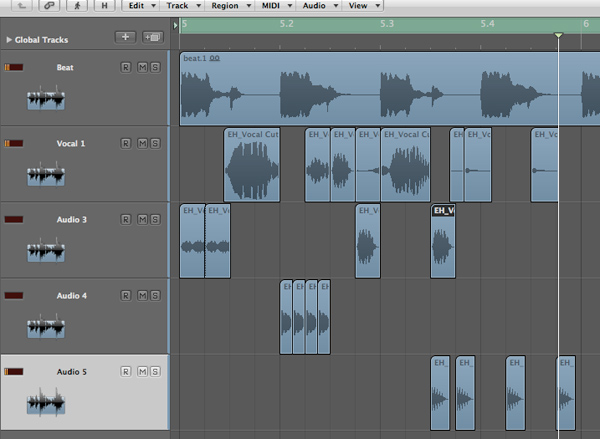
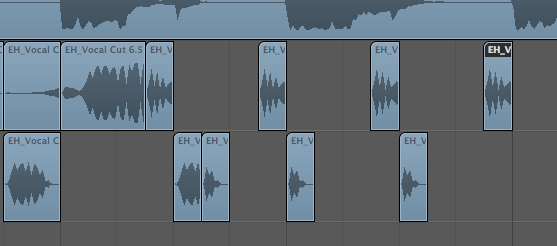
Start to place these new sections of audio onto the new tracks you have created. Initially pick out the stronger sounds with plenty of attack and impact. This is really a process of trial and error, so don’t be afraid to undo what you have done and start again.As you are placing the initial parts you can start to build up the early stages of your sequence. You can do this by repeating some of the parts and moving others into new positions.
Step 5
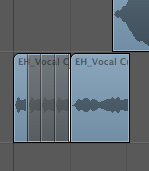
As the pattern develops cut smaller sections from some of the audio slices and loop them for small amounts of time. This creates the classic glitch/stutter effect you may have heard in other electronic productions. The smaller the section you cut and repeat the more intense the effect will become. Try experimenting with lots of different lengths and repetitions.This works better with some parts than others and you’ll find that brighter sounds with more high end content and faster attack signatures will produce a better result.

Step 6
Now start to build up a groove using larger parts of the vocal. Place these slices into gaps in the sequence and try replacing other parts with them as well. This will essentially twist the original order of the vocal part and make it sound synthetic.You should also hear a new groove developing at this point, go with it and start to develop any ideas you have as you go. This will make the patter more original and compliment your music.
Step 7
Zoom out and take a look at your overall pattern and see it as a whole. This is often a great way of spotting gaps or areas that could use work. Put any finishing touches to the sequence and make sure you are happy with your groove.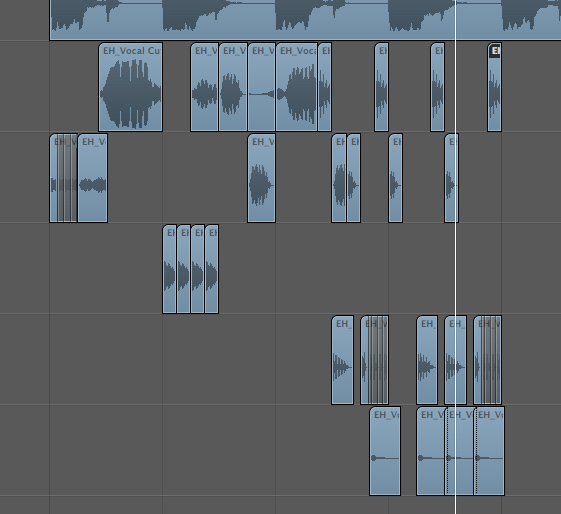
Step 8
A good tactic here can be to try developing a completely new pattern from the vocal parts, in no way based on the original vocal. This can be used as an alternative pattern or as a fill in your sequence. Do this in an empty area of your arrange window–this way you’ll be uninfluenced by the previous pattern.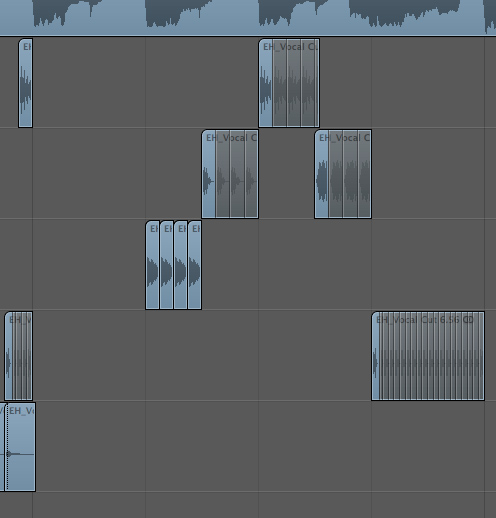
Step 9
It’s now time to think about how these new clips and sections are mixed together. Open the mixer in your DAW and start to strike a good balance between the parts. Also make sure they are mixed well with any beats or synths you may already have programmed and try to avoid clipping if possible.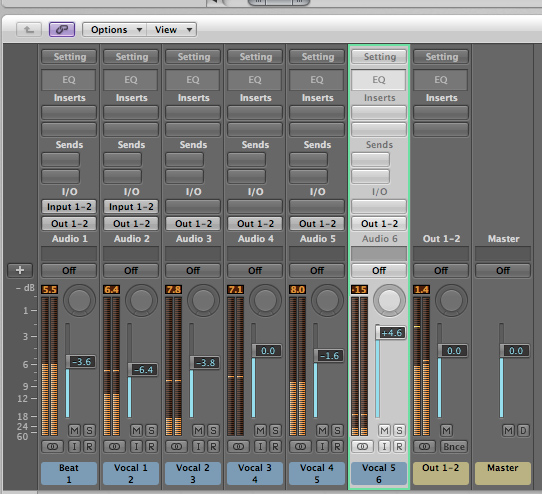
Step 10
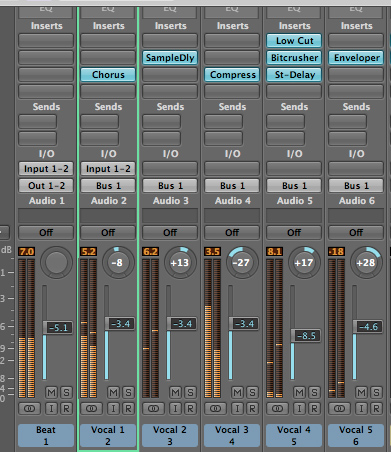
Try adding effects and processing to different parts of the sequence. You could add some distortion or saturation to one part and delay to another, creating real texture and contrast.Filter any problem frequencies from the parts and use dynamics processors to control wayward dynamics.
Think about your stereo field at this point. Try to spread the different sections apart from each other. This will create a wider, more involving sound. You can also try automating some of the pan and level settings for extra movement.
Step 11
Finally route all of your vocal channels to a group for further processing and control. Some light limiting or compression and a filter to remove any very low frequencies may suffice here but you can always add an automated filter or some extra eq if needed. Your glitch sequence should now be ready to use in your arrangement.If you need to save CPU headroom you can always export the sequence for use as one audio file.

No comments:
Post a Comment